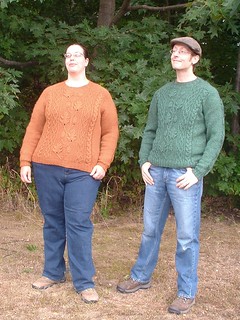
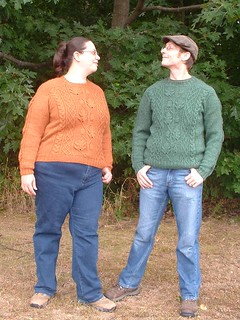
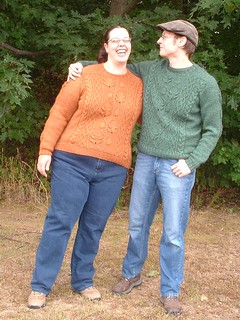
I spent weeks reading through my Elizabeth Zimmermann book collection and scribbling diagrams and calculations on post it notes, and finally it was time to cast on.
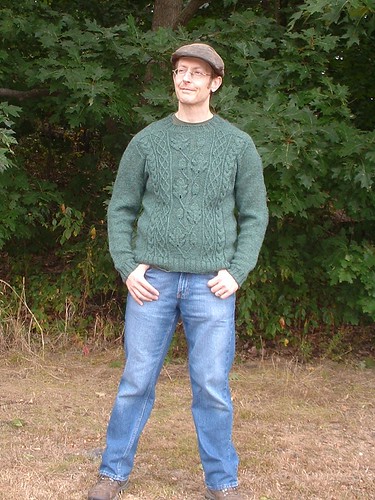
I settled on a mash up of EZ's Saddle shoulder sweater and Saddle shoulder hybrid with shirt yoke constructions from Knitting Workshop. Using some slightly altered numbers for EZ's Percentage system from Jacqueline Fee's Sweater Workshop.
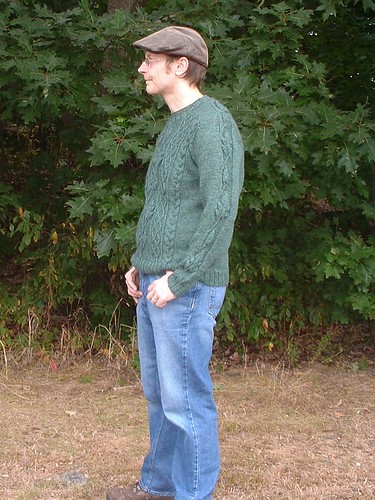
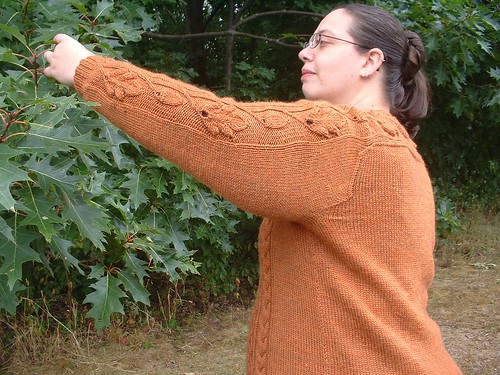
the Oak panel is modified/reverse engineered from pictures of several different sweaters featuring one similar, and an Oak leaf motif (with no acorns) available at the The Knitting Fool The side cable patterns are from Barbara Walker's Treasuries with only minor tweaks to help them fit.

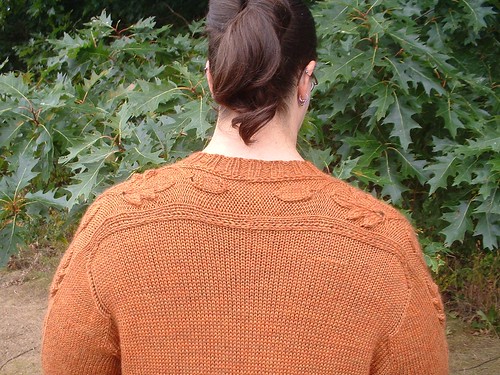
Overall I stuck to the regular saddle shoulder pattern (every round body eating, then sleeve eating, then a few more body eating, before doing the saddles) but made the saddles a bit wider – somewhere between the with of the normal saddle shoulder and the width of shirt back variation – by doing fewer sleeve eating decreases, and then just knit the back half of the saddles over the back of the sweater to meet in the center like the shirt back variation.
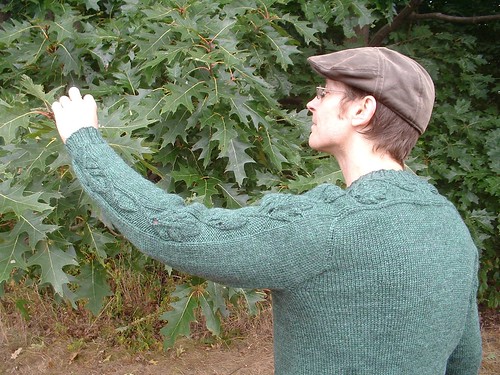
I was originally going to do a full width oak motif on each sleeve, but I decided to only do half, which made fitting everything in a bit easier, but I still wanted it mostly centered on the side of the arm, so what I ended up doing was knitting the panel centered on the outside of the arm and doing the increases so that they formed a sort of visible seam along the inside of the arm, but then working the last two increases on only one side of this ‘seam’ to push the motif towards the back. (I attached the sleeves to the body with the center ‘seam’ well… centered)
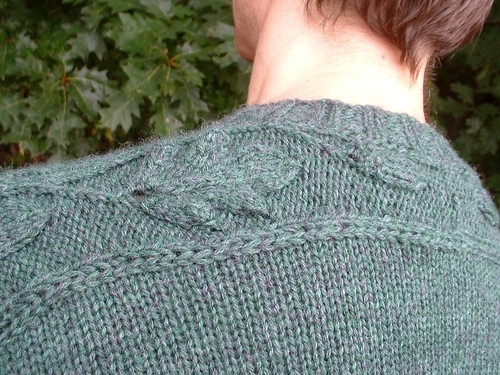
This still left the motif a bit more centered over the top of the shoulder than I wanted so I converted a handful of the single body-eating decreases into double decreases to eat up the extra back sleeve/saddle stitches - effectively shifting the ‘center’ of the saddle towards the front. I still ended up with the back saddle one stitch wider than the front, but I don’t think it’s terribly noticeable or detrimental to the fit.
I had so much fun knitting Bill's sweater that I started to really want one of my own, and since Mom had given me more than enough yarn money...
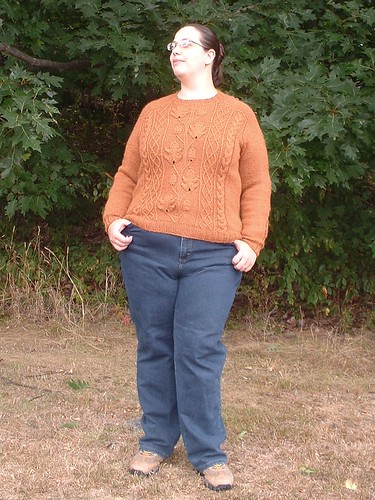
I made a few minor tweaks: making the arms shorter and the upper arms a bit bigger around, adding a few more stitches around the body and more short rows across the back.
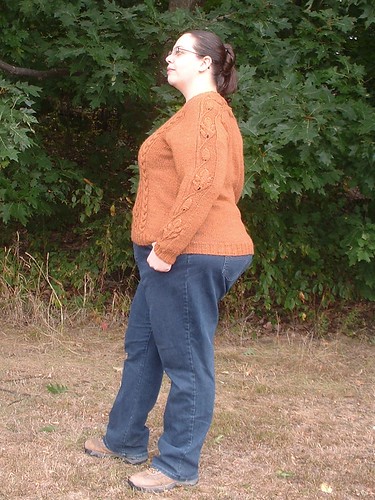
I Love the sweaters and now Bill and I can be all Matchy-Matchy when we go the Rhinebeck this year!
Yarn: Knit Picks WOTA Superwash in noble heather and persimmon heather
Needles: US size 6 (4mm) for the ribbing and US size 7 (4.5mm) for the rest.
Ravelry project pages: Green, Orange
Bill's sweater has about 4-5 inches positive ease and mine has about 1 inch negative ease.
I made a Ravelry pattern page here for the sweater and you can download the rough recipe I used and the charts from there. Just be warned it's really rough and I don't know how well it will adapt to other sizes. No matter what, you should really read Elizabeth Zimmermann's Knitting Workshop sections on sweaters, especially the saddle shoulder variations, or my instructions may not make very much sense.
