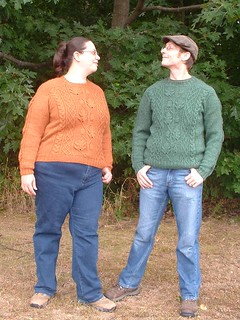
You all know about the Quercus Socks? Well, when I originally saw
the Oak leaf motif and decided to reverse engineer it to the oak leaf
and acorn motif, my plans were for a sweater for Bill - who has a
thing for Oaks. But at the time I didn't have the money for a
sweater's worth of yarn, so I contented myself with making him a pair
of socks. Then our birthdays rolled around (they are about a week
apart, so we we make it a week long celebration) and my Mom - who had
admired the socks and listened to me babble on about how much I love
the pattern and had really wanted to make a sweater - gave me the
money to buy yarn!
I spent weeks reading through my Elizabeth Zimmermann book
collection and scribbling diagrams and calculations on post it notes,
and finally it was time to cast on.
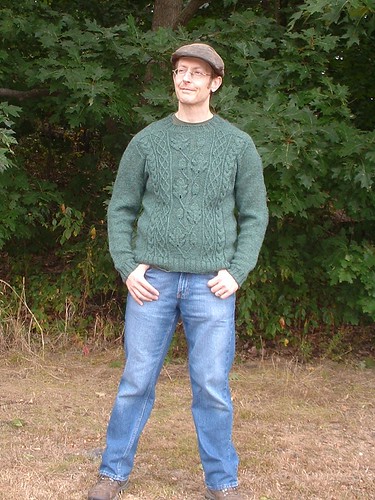
I settled on a mash up of EZ's Saddle shoulder sweater and Saddle
shoulder hybrid with shirt yoke constructions from Knitting Workshop.
Using some slightly altered numbers for EZ's Percentage system from
Jacqueline Fee's Sweater Workshop.
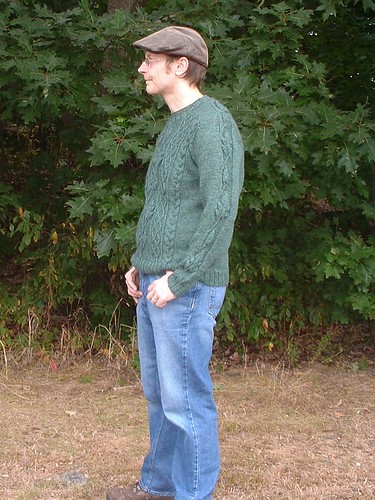
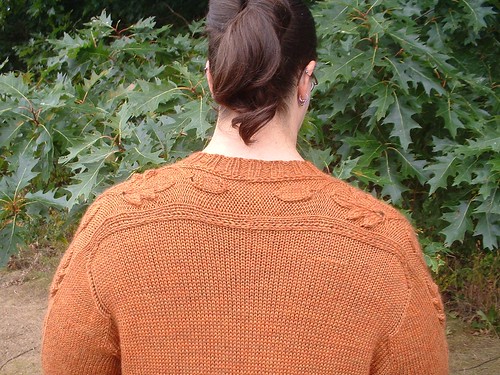
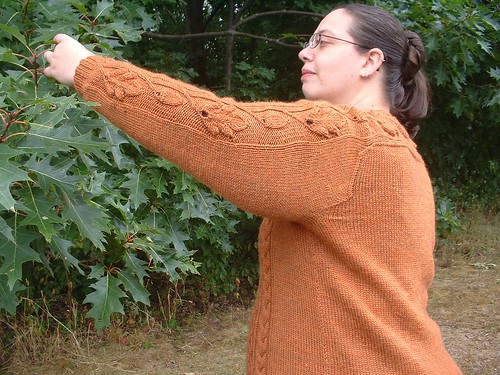
the Oak panel is modified/reverse engineered from pictures of
several different sweaters featuring one similar, and an Oak leaf
motif (with no acorns) available at the The
Knitting Fool The side cable patterns are from Barbara
Walker's Treasuries with only minor tweaks to help them fit.
Overall I stuck to the regular saddle shoulder pattern (every
round body eating, then sleeve eating, then a few more body eating,
before doing the saddles) but made the saddles a bit wider –
somewhere between the with of the normal saddle shoulder and the
width of shirt back variation – by doing fewer sleeve eating
decreases, and then just knit the back half of the saddles over the
back of the sweater to meet in the center like the shirt back
variation.
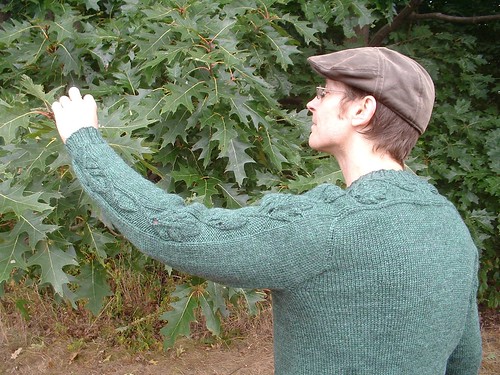
I was originally going to do a full
width oak motif on each sleeve, but I decided to only do half, which
made fitting everything in a bit easier, but I still wanted it mostly
centered on the side of the arm, so what I ended up doing was
knitting the panel centered on the outside of the arm and doing the
increases so that they formed a sort of visible seam along the inside
of the arm, but then working the last two increases on only one side
of this ‘seam’ to push the motif towards the back. (I attached
the sleeves to the body with the center ‘seam’ well… centered)
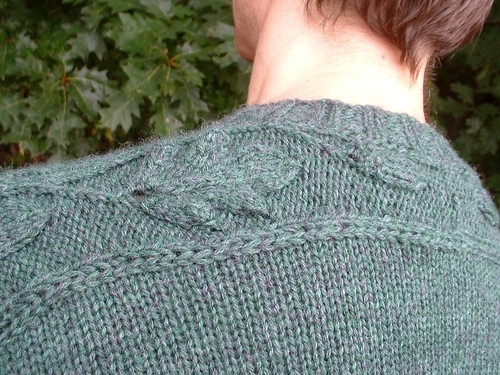
This still left the motif a bit more centered over the top of the
shoulder than I wanted so I converted a handful of the single
body-eating decreases into double decreases to eat up the extra back
sleeve/saddle stitches - effectively shifting the ‘center’ of the
saddle towards the front. I still ended up with the back saddle one
stitch wider than the front, but I don’t think it’s terribly
noticeable or detrimental to the fit.
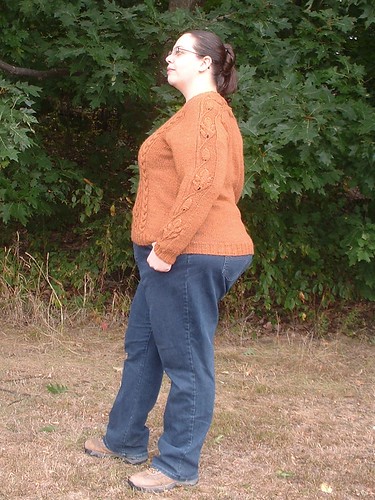
I had so much fun knitting Bill's sweater that I started to really
want one of my own, and since Mom had given me more than enough yarn
money...
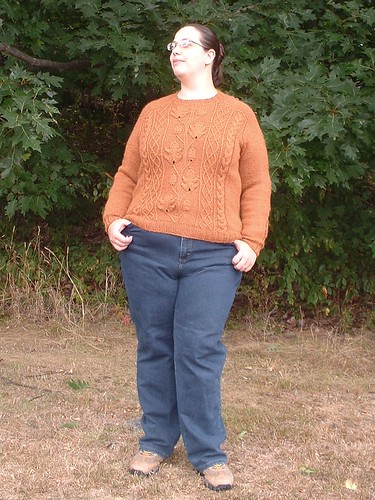
I made a few minor tweaks: making the arms shorter and the upper
arms a bit bigger around, adding a few more stitches around the body
and more short rows across the back.
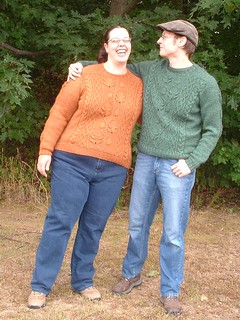
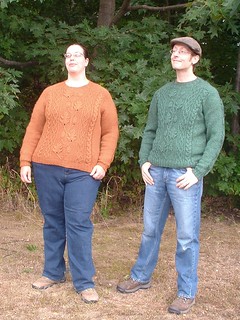
I Love the sweaters and now Bill and I can be all Matchy-Matchy
when we go the Rhinebeck this year!
Yarn: Knit Picks WOTA Superwash in noble heather and persimmon
heather
Needles: US size 6 (4mm) for the ribbing and US size 7 (4.5mm) for the
rest.
Ravelry project pages: Green, Orange
Bill's sweater has about 4-5 inches positive ease and mine has
about 1 inch negative ease.
I made a Ravelry pattern page here for the sweater and you can
download the rough recipe I used and the charts from there. Just be
warned it's really rough and I don't know how well it will adapt to
other sizes. No matter what, you should really read Elizabeth
Zimmermann's Knitting Workshop sections on sweaters, especially the
saddle shoulder variations, or my instructions may not make very much
sense.
A kitten knits, and crochets, and embroiders, and quilts, and tats and ... well you get the idea.
Saturday, September 13, 2014
Wednesday, July 16, 2014
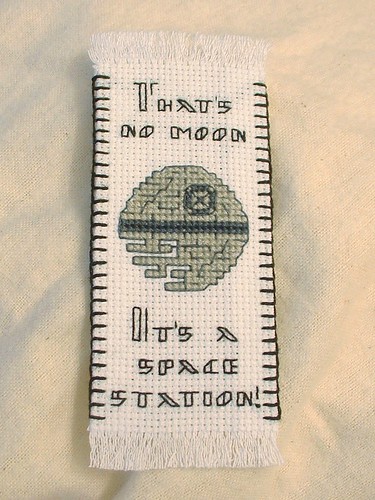
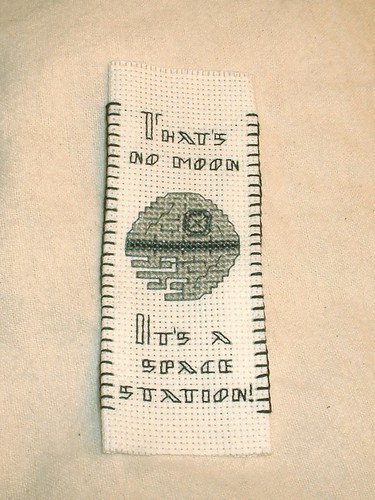
Finishing a cross stitch bookmark
How to finish a cross stitch bookmark when not working with
already prepared bookmark fabric:
Before you start stitching, be sure to cut your fabric with at least 9 extra squares on each side for finishing.
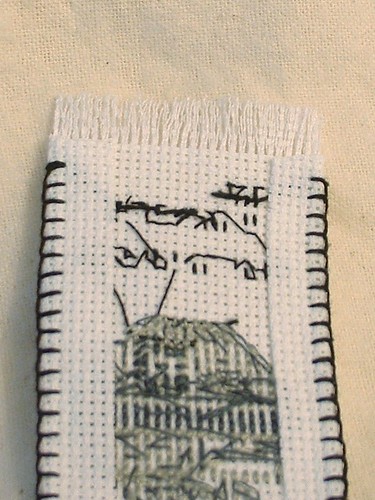
Stitch your bookmark pattern, then fold the sides to the back leaving 3-4 empty squares on either side of the stitching. Tack the edges down - you can use a blanket stitch like I did, or a simple running stitch, or any decorative stitch as long as it isn't too bulky.
Flip the bookmark over and carefully trim the corners. Then pull out the horizontal threads to create a fringe. Be sure to leave at least three empty squares between the fringe and the stitching.
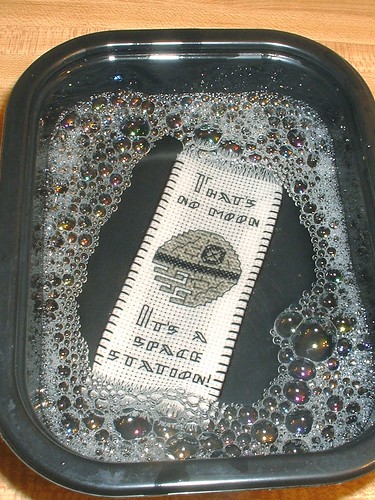
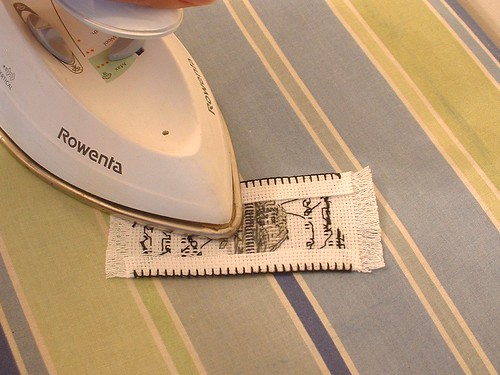
Wash and Iron your bookmark. Remember to keep the bookmark face down so that you do not crush the stitches.
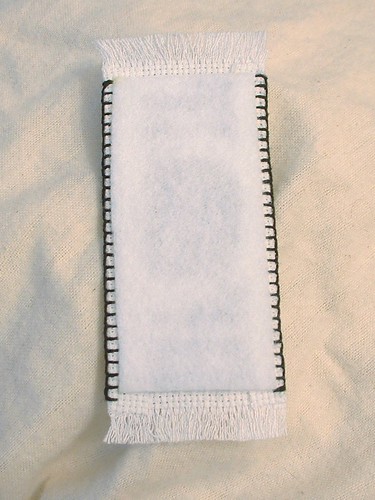
Carefully glue a piece of felt over the back of the bookmark to protect the back of your stitching.
Enjoy your new bookmark!!
(Cross stitch chart for this bookmark is available here)
Thursday, June 12, 2014
Socks and other exciting things.
So It's been a while since I posted about them – my poor toe-up
Bayerische have been languishing while I worked on other things. But
I finally got my behind into gear and got working. Once I sat down
and worked on them exclusively the knitting sped past and it didn't
hurt that I was very eager to wear them. I love the pattern!
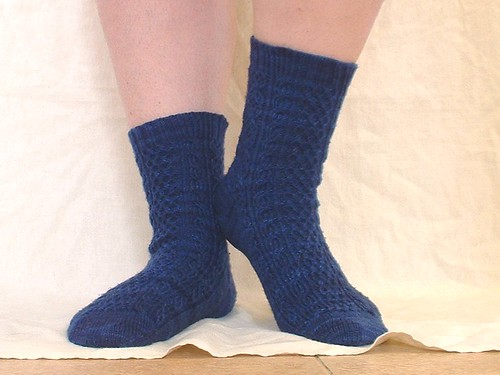
yarn: Knit Picks Stroll Kettle Dyed in Jay
pattern: Toe-up Bayerische (rav link)
Ravelry Page
***
And in other sock news I've been designing again!
First up:
Is It Spring Yet?
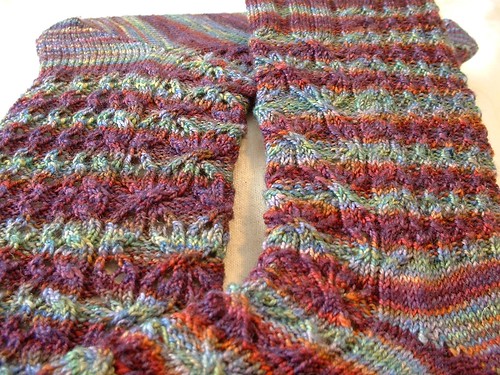
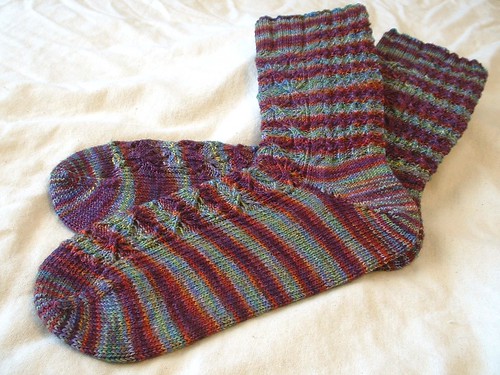
I had a lot of fun putting these together, I love the lacy twisted stitch and cable flowers and the lovely Lacey vine ribbing on the back give the leg lots of stretch.
from the pattern page:
Winter just seems to keep going. Everything is cold and covered in snow, and all I really want to do is get outside and see some color! These socks are all things I wish I could be seeing outside by February: bright flowers and trailing vines and leaves of spring! The front of the sock sports flowers highlighted by twist stitches and cables, while a twining cable climbs up the side and an undulating vine rib decorates the back.
This sock is 72 stitches around, please feel free to knit a a gauge that will give you the best fit.
Options for both a Short Row Heel and a more traditional style Gusset/Flap Heel are offered.
Available via Ravelry for $3.00
***
and even more exciting, I have a pattern for sale via Knit Picks too!
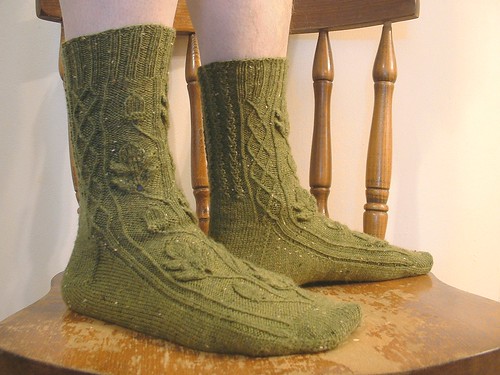
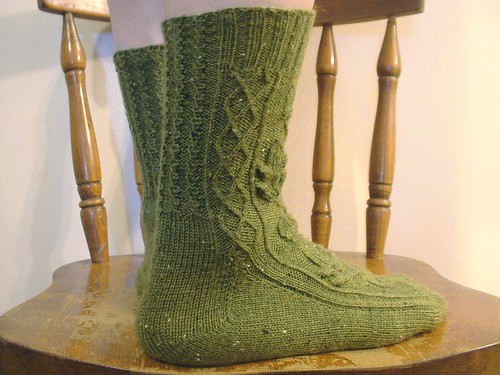
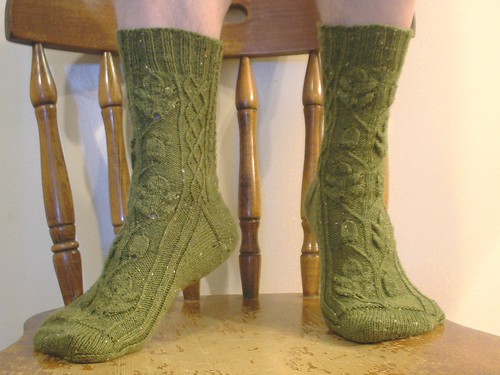
Quercus Socks
I designed these with Bill in mind. I Love the oak leaf motif, and Really wanted to make a sweater with it, but didn't have the yarn for one. The oak motif would not get out of my head, so I finally gave in and started poking around a sock idea and this is what I came up with.
from the pattern page:
This is an earthy toe-up sock, originally designed for my husband. The central oak leaf and acorn panel is flanked by an engaging yet simple twisted stitch braid, with a lace style ribbing on the back of the leg reminiscent of rows of little acorns. The pattern invokes feelings of hiking through an English forest.
This sock is 73 stitches around, please feel free to knit at a gauge that will give you the best fit.
options for both a short row heel and a more traditional style gusset/flap heel are included.
you can purchase this pattern for $2.99 via Knit Picks
Friday, May 23, 2014
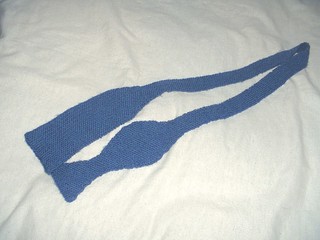
I knit bow ties now, bow ties are cool
sorry, I couldn't help myself.
this was a fun little knit. Quick and cute!
pattern: Eleventh bow tie (rav link)
yarn: leftover Knipticks Stroll
needles: US 1.5 (2.5mm)
Ravelry Page
I knit the first half as written, but then the second half I just made a big rectangle ti give the bow tie a bit more body, since the ones I saw that knit both in the pattern looked a bit too thin/floppy about the middle.
Bill Loves it! It took him about a hour of back and forth between computer with instructions and bathroom mirror to get it tied properly, but he's already planning a Halloween costume around it.
Wednesday, April 30, 2014
A tale of two shawls.
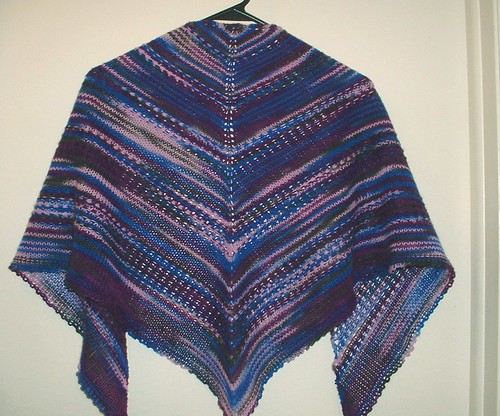
One day while my parents were down visiting, Mom mentioned that
Grandma was always complaining of being cold, so I decided to knit
her a shawl.
I knew I wanted it to be warm so I decided to go with fingering weight over lace, and I had the perfect yarn already in my stash. It took me a while to finally pick a pattern but I eventually settled on Zilver.
Yarn: Knit Picks Memories in Rocky Mountain Dusk
Pattern: Zilver (rav link)
Ravelry page
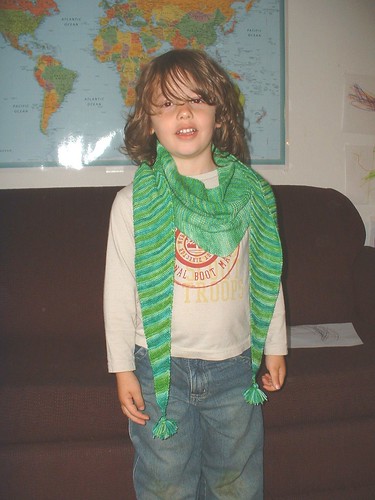
The knitting went pretty quickly, and while I was working on it TW was fascinated, and asked several times for me to knit a green shawl for him.
I had a random skein of Knit Picks Bare so I took some Wiltons cake dyes and dyed it up in shades of green.
I wanted to be sure to get the most out of the yarn, since I couldn't get any more, and I knew that TW would get more use out of a shallow obtuse angled scarf shaped 'shawl' than a deep right triangle type shawl, so I went with the Baktus construction and weighed my skein frequently and saved just enough yarn to make some cute tassels for the ends.
TW was so happy when it was time to block it and I laid it out that night. Then he got up extra early to check if it was dry yet the next morning. I think it's pretty safe to say he loves it, and it will be a perfect scarf come wintertime!
Pattern: Baktus (rav link), with a few modifications to make it longer and narrower.
Ravelry page
Sunday, March 23, 2014
A moment of silence for a faithful blanket, gone too soon.
Ok, maybe that was a bit melodramatic.
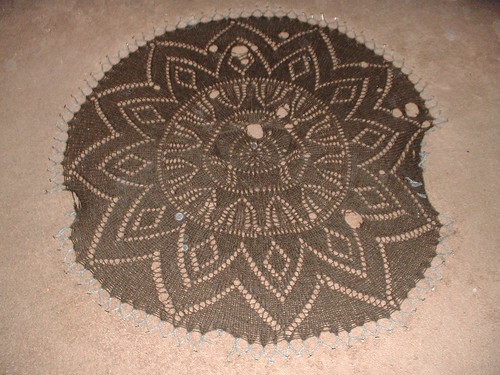
Soon after TW was born my pi lap blanket got soiled, but we were new parents and we were not up to washing and blocking delicate woolens. It got put aside, and a while ago while cleaning I found it balled up on the floor, shoved in a back corner behind the dirty laundry bins.
I pulled it out and threw it in a wool wash bath without really inspecting it.
When I laid it out to block it this is what I found:
so sad.
Oh well, gueas that just means I need to knit a new one.
Friday, February 28, 2014
More knitting for yarn
After TW's Wallaby I didn't really have any big projects so
decided to pick up a few more knitting jobs just to have something to
do (and hey, more yarn!)
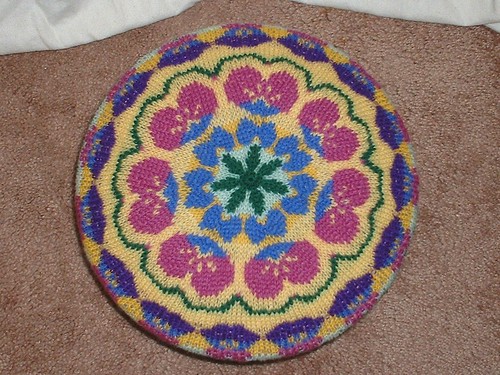
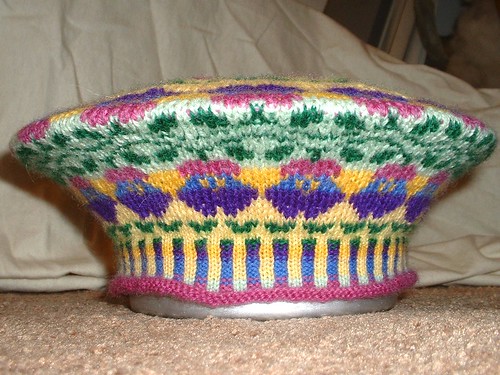
first up was a really nifty colorwork tam:
Pansy Garden Tam (rav pattern link, web link here)
the pattern came in a kit with pre-wound balls of jaggerspun wool. It was very clearly written, and while a few of the colors came a bit close to running out, it turned out great. I love color work, and this was such a pretty design!
Rav project page here
***
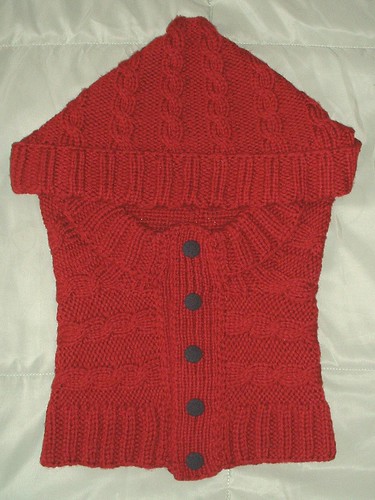
After the Tam there was a nice trip Through the Woods!
The Through the Woods hood (rav link) was great fun to knit. And I think I want one for myself too!
I was almost done when I ran out of yarn, so the great lady I was knitting for sent more, with the request for a pair of matching mitts:
Thorough the Woods Fingerless Mitts. (rav link) by the same designer.
Both of these projects were a lot of fun, the cables were simple, but very classic looking, and I just love how the hood turned out.
Project links: hood, mitts.
Saturday, January 04, 2014
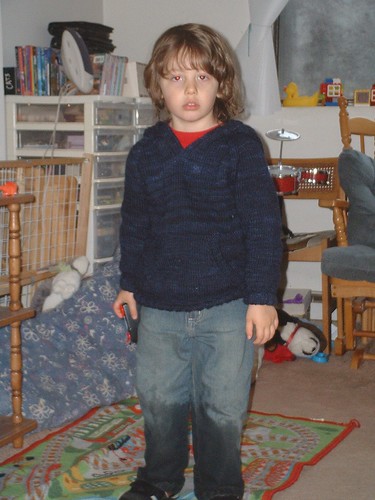
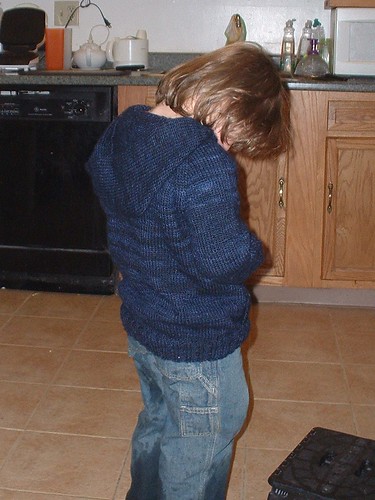
A Wallaby for TW
after knitting the last
three projects I had earned enough yarn for a Wallaby!
(rav link, purchase online here or here)
I had purchased the pattern even before TW was born, and I’m so glad I did.
The pattern is written in a very chatty manner, but after a few read-throughs it was really easy and everything went together very nicely!
I knit with a slightly thicker yarn than called for (Manos Del Uraguay Wool Clasica – which is Aran weight), and about a size and half bigger than TW's current size, so it is nice and warm and should fit him for a couple of seasons.
He loves it, but says that it 'tickles' (itches) so he has to wear a long sleeved shirt underneath.
This was my first 'big' sweater and I had a ton of fun with it and it went by so quickly! I can't wait to knit more sweaters!
Ravelry project page full of more detailed notes, here